Setting up Flutter development environment for Windows
As a developer, I’ve always wanted to try out flutter for a long time. When I started with Flutter, Setting it up ate a lot of my time, I had to go through various tutorials, and articles to set up the development environment. I’m writing this blog as I don’t want my fellow developers to face the errors that I had to, during the process.

System Requirements:
To install and run Flutter, your development environment must meet these minimum requirements:
- Operating Systems: Windows 7 SP1 or later (64-bit), x86–64 based.
- Disk Space: 1.64 GB (does not include disk space for IDE/tools).
- Tools: Flutter depends on these tools being available in your environment.
- Windows PowerShell 5.0 or newer (this is pre-installed with Windows 10)
- Git for Windows 2. x, with the Use Git from the Windows Command Prompt option.
- If Git for Windows is already installed, make sure you can run
gitcommands from the command prompt or PowerShell.
Things to Download/Install:
The following are what you are going to download/install during the process:
- Flutter SDK
SDK — Software Development Kit
- Andriod Studio
- Java SE Development Kit
- Gitfor windows
- VS Code (Visual Studio Code)
Let’s get started, shall we?
Flutter SDK(Software Development Kit):
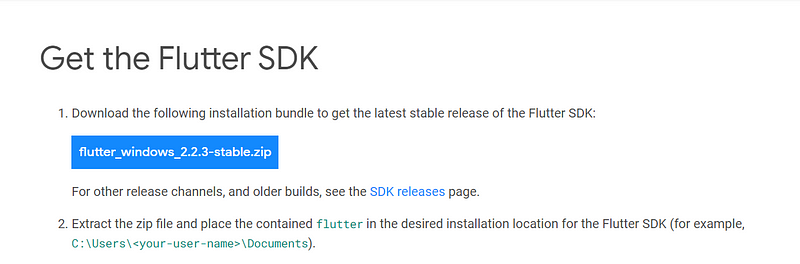
A clip from https://flutter.dev/docs/get-started/install/windows
You can download the latest stable version of Flutter SDK from the Official Flutter installation documentation. The current stable version for windows is 2.2.3-stable, which might not be the same when you’re reading this blog. Download the latest version that is available at that time.
- Extract Flutter SDK from .zip
- Create a folder in your C: Drive
C:\srcand paste the extracted flutter SDK.

Flutter SDK in C Drive
- Now go inside the flutter folder and then into the bin.
- Copy the path of the bin.

- Open your windows search and type
env.
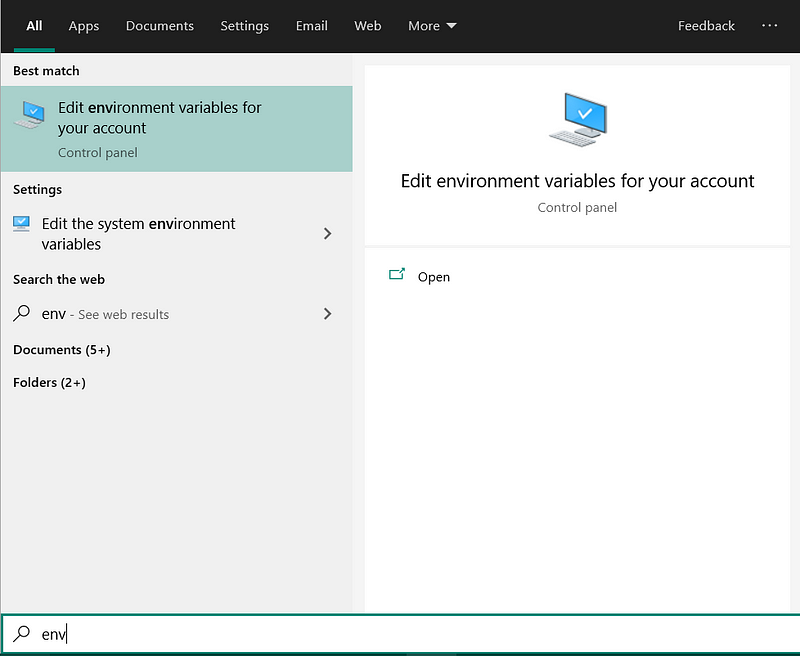
- Now open the “Edit environment variables for your account”.

- Double click
path

- Click
Newand paste the path of theflutter\binand click “Ok”. - Now, open your cmd (or any terminal window) and type this.
1
where flutter dart

If you get the location of flutter and dart files, you have successfully installed flutter SDK and set its path 🥳.
Java SE Development Kit:
If you already have JDK installed on your pc, make sure that you’ve set it to the path “JAVA_HOME”.
Now, let’s set up Java SE :
- Download “Java SE 8” from JDK SE 8 DOWNLOAD.
- Under “Java SE Development Kit 8u301”, you’ll see this

https://www.oracle.com/java/technologies/javase/javase-jdk8-downloads.html
- Download and Install x64/x86 w.r.t. your PC’s specification.
- After installing, navigate to
\binof JDK, in my case:
1
C:\Program Files\Java\jdk1.8.0_301\bin
- Copy the path, open “Edit environment variables for your account”.
- Create a new variable
JAVA_HOME.

JAVA_HOME Environment Variable
You’re done setting up the JDK. 🥳
Andriod Studio:
We’re downloading andriod studio to set up the andriod emulator.
- Download Andriod Studio from ANDRIOD STUDIO.
- Install it.
- Now, open your CMD/Terminal, and run the command:
1
flutter doctor
- See if
flutter doctorrecognized android studio

You might not get Green Ticks on everything, check only andriod studio as of now.
- If Flutter cannot locate it, run
flutter config --android-studio-dir <directory>{.markup–code .markup–li-code} to set the directory that Android Studio is installed to. - Open Andriod Studio
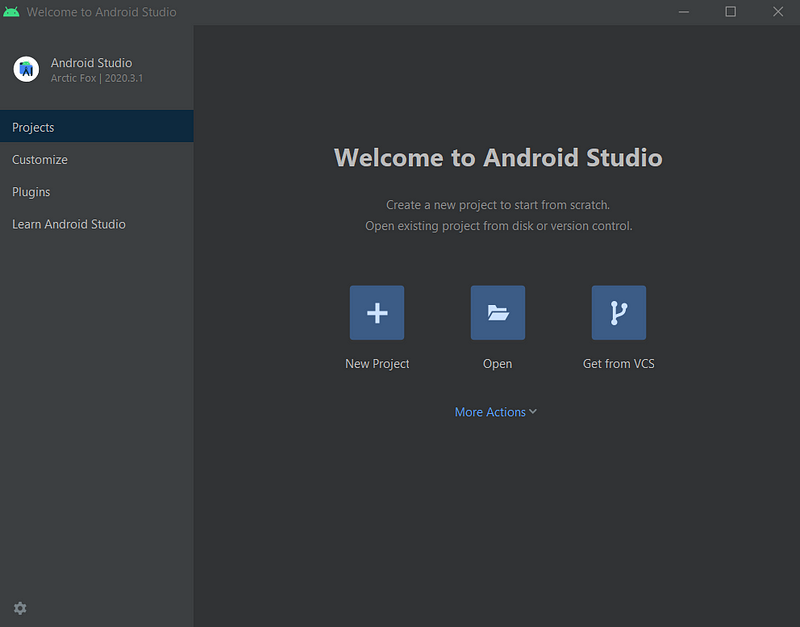
Andriod Studio
If you wish to develop flutter apps in Andriod Studio itself,
- Go to plugins, search for “Dart” and “Flutter”.
- Download them, and restart andriod studio. Now you’ll be able to see a “Create New Flutter Project” on the dashboard.
- Select
More Actions.
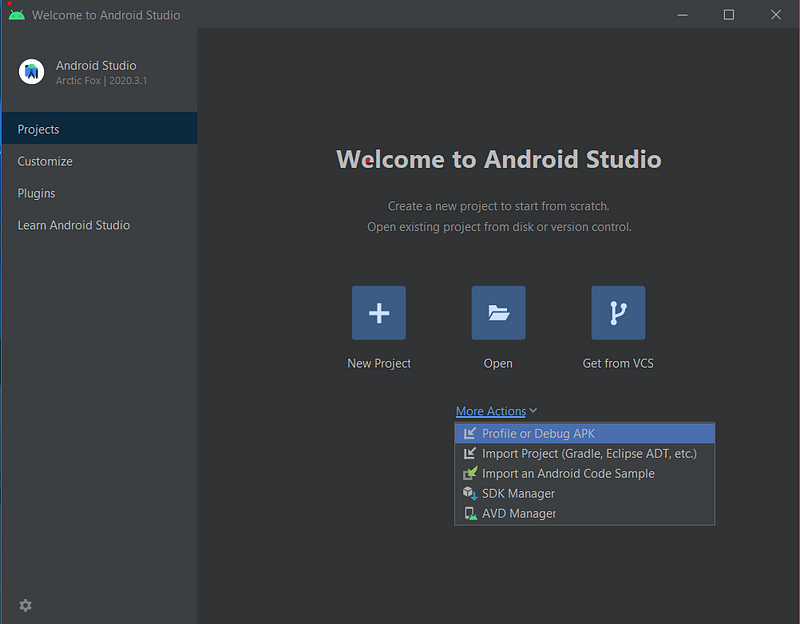
Andriod Studio
- Choose
AVD Manager.

AVD Manager — Andriod Studio
- Click
+ Create Virtual Device….

Create Virtual Device — AVD Manager — Andriod Studio
- Choose an Andriod device of your liking and click Next.
Create Virtual Device — AVD Manager — Andriod Studio
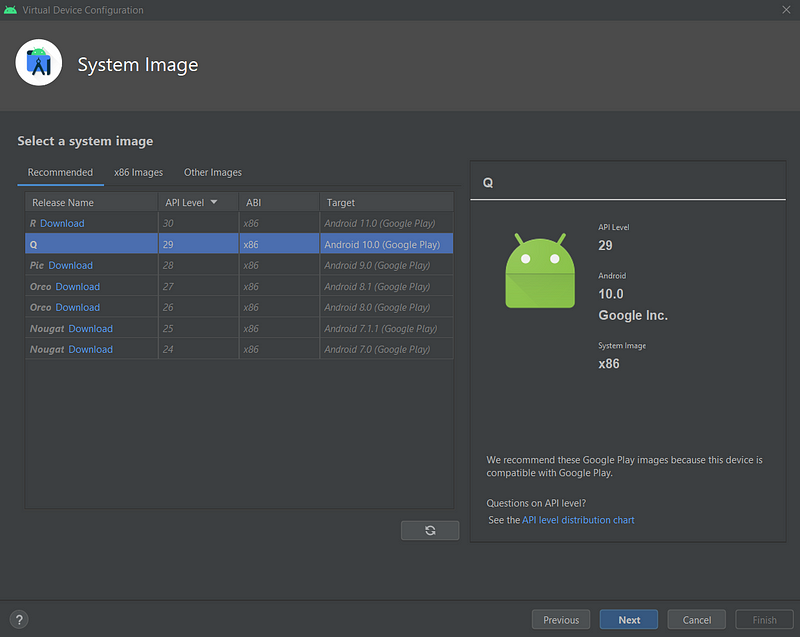
- Download the Andriod version you want by clicking
Download(blue), underRelease Name. - Once, it’s downloaded, click Next.
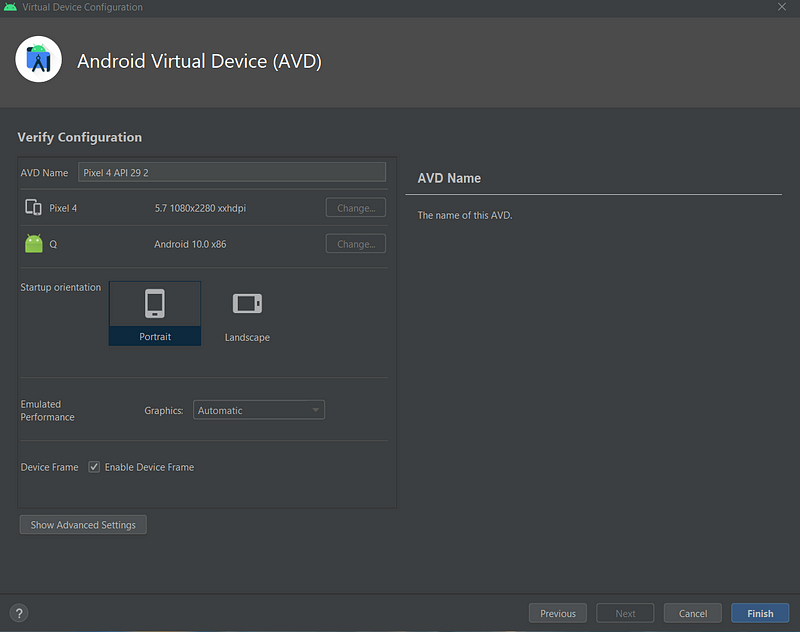
Create Virtual Device — AVD Manager — Andriod Studio
- Now, Finish.
🍻Cheers to you, you’re almost done!. 🥳
Visual Studio Code:
Say Hello to my favorite IDE!
- Download VS Code from VS CODE DOWNLOAD.
- Install and open VS Code.
- Open Extensions.

Extensions — VS Code
- Search for
Flutterin the extensions, and install this:

Flutter Extension — VS Code
Yayyy, Everything’s done. Now, it’s time for Flutter Doctor’s Checkup!.
- Open CMD/Terminal, and run
1
flutter doctor
- You might still have one box unchecked.

Flutter Doctor
- Run this command on your terminal,
1
flutter doctor --andriod-licenses
- Now, run
flutter doctoragain.

Flutter Doctor
Yippieee, now you’re all set for developing Flutter Applications!.
A 👏 to the blog would make me Happy😊 and encourage me to write more blogs like this!.
If you get any Doubts/Errors🤔 during the setup💻, the comment section is all yours!. I’ll reply as soon as possible.
If you have any suggestions for my next post, feel free to drop them in the comments section.
Interested in connecting with me? I’ve shared my LinkedIn profile below.
Srihari S - Technical Team Member - DSC SRMIST Ramapuram Campus |
LinkedIn
View Srihari S’ profile on LinkedIn, the world’s largest professional
community. Srihari has 1 job listed on
their…www.linkedin.com